Bitcoin can be confusing for new comers. Luckily, we’ve got it covered for you.
When it comes to Bitcoin, I’ve always been an outsider looking in. Living in China, government crackdowns have made the cryptocurrency largely inaccessible, so I’ve been content to sit on the sidelines and observe.
Eventually, however, my curiosity got the best of me, and I decided to take the plunge. I am a Bitcoin believer, and I want to walk the talk. After some thorough research, I bought US$100 worth. So, in the interest of spreading the word, here’s some first-hand advice for first-time bitcoin buyers.
Where to buy bitcoins – choose the right exchange
The first question I had was – “where to buy bitcoins from?” With dozens upon dozens of exchanges in the world, I chose US-based Coinbase. Originally, I wanted to try out one of the many exchanges in Asia that I’ve written about in the past, but ultimately went with Coinbase because it’s in the same country as my primary bank account. I highly recommend you filter your search by finding exchanges in your home country or ones that explicitly state they accept transfers from your bank, otherwise you will risk unnecessary bureaucracy headaches and transfer fees. I also wouldn’t suggest buying from individuals on your first attempt. Here’s a brief (and by no means exhaustive) list of exchanges in Asian countries:
- China
- Taiwan
- Singapore
- Hong Kong
- Japan
- Korea
- Indonesia
- Thailand
- Philippines
- Malaysia
- India
So what should you be looking for? The number one priority should be security. This is real currency we’re talking about (despite what some governments might think), but rules and regulations are not yet up to the same standard as real banks and other financial institutions. If an exchange goes down, all of its customers’ assets can go down with it (see: Mt. Gox).
Do some background research on each of the available exchanges in your country. Have they been around awhile? Do they have good reviews? Are there any news articles about them getting hacked? Are the founders some fresh IT grads or experienced financial professionals?
Make sure the exchange uses two-factor authentication – a security measure used when logging into your account from a new device that requires two methods to prove your identity. Sometimes this is an email address and a phone number, while some exchanges require an actual scan of photo ID.
Cold storage is another plus. Not all exchanges have this, but I prefer those that do. Cold storage is sort of like the opposite of cloud storage – disconnected from the internet and kept completely out of the reach of hackers, and other forms of catastrophe.
Next, look for the features you want in an exchange. Remittances will require cooperation with local banks in the destination country. If you don’t have a bank account, look for exchanges with nearby bitcoin ATMs or a voucher system. Margin trading, instant withdrawals, automatic trading, and the option to buy altcoins (Litecoin, Dogecoin, etc) are all worth considering depending on your needs.
Apart from it being in my home country, I chose Coinbase because it uses two-factor authentication and cold storage, has a clean reputation, and offers instant buying up to US$100.
Choose the right wallet
Finding a wallet, an app from which you can send and receive bitcoin, is the next step. A search on any major app store returns tons of options, but using one made by the exchange which you buy from will make your life easier. Coinbase has both a mobile wallet app and a browser wallet on its website that sync with each other.
It’s convenient that I don’t have to transfer the bitcoins to a separate wallet, and I don’t have to worry about losing my bitcoins if I lose my phone or my computer dies. That’s a double-edged sword, though, because if Coinbase gets hacked or goes dark for some other reason, my bitcoins will go with it.
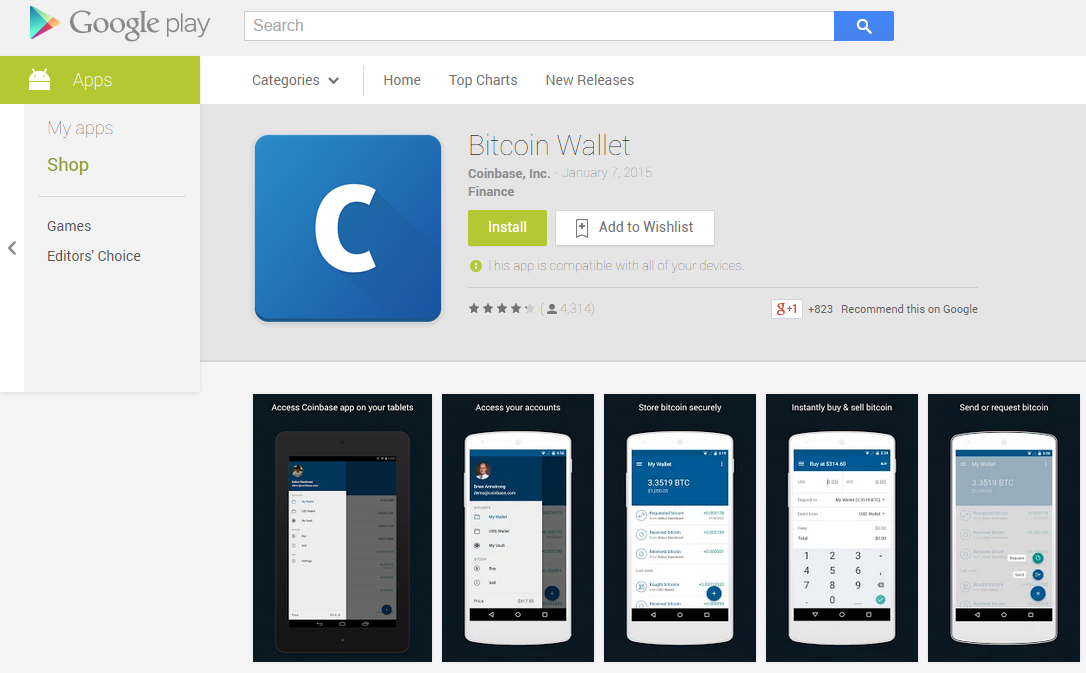
Not all exchanges have wallets, which really only leaves you with the option of using a third-party wallet. If you go this route, extra steps are needed to make sure it’s secure. You’ll have to back up your wallet and sync it regularly to multiple secure locations, like password-protected USB drives. It also requires some bandwidth to sync the blockchain. A third-party wallet is much less likely to be targeted by hackers, but is probably not as secure as an exchange’s servers. The decision ultimately comes down to trust and ease of use.
Coinbase’s wallet is very simple and intuitive, which is all I want. I’m not a very active trader, but more serious users might want something more complex. Quoine’s wallet, for instance, has two interfaces for novice and expert users.
How to buy bitcoins
Now time for the actual purpose: buying bitcoin. Most exchanges work in a similar manner, so I’ll use screenshots from Coinbase as a guide. Buying bitcoin is easy, but it’s by no means instant, even with the “instant” option that I used.
First off, you’ll have to connect your bank account. On Coinbase, this is very similar to setting up an account on PayPal, where two small deposits are made to verify that the account number and owner are legitimate. This can take up to four business days alone, but it’s a one-off step. To use the instant purchase feature, I also bound my credit card to my account.
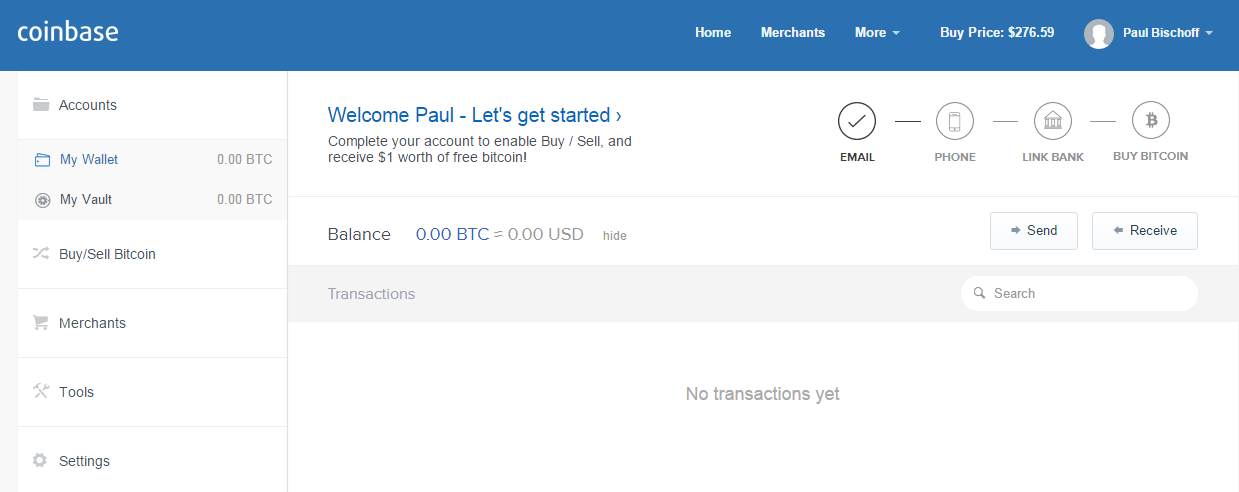
Once your accounts are in order, it’s time to make the purchase. The primary method is to use a bank transfer, and very few exchanges or other services allow you to use a credit card. Coinbase only allows it as a secondary measure, and the instant buy amount is capped at US$100.
You can input the amount in either bitcoin or your preferred fiat currency (yen, kroner, euro, etc.), but make sure to check the price as bitcoin rates tend to fluctuate rather violently. My US$100 worth of bitcoin was worth just US$90 one day later.
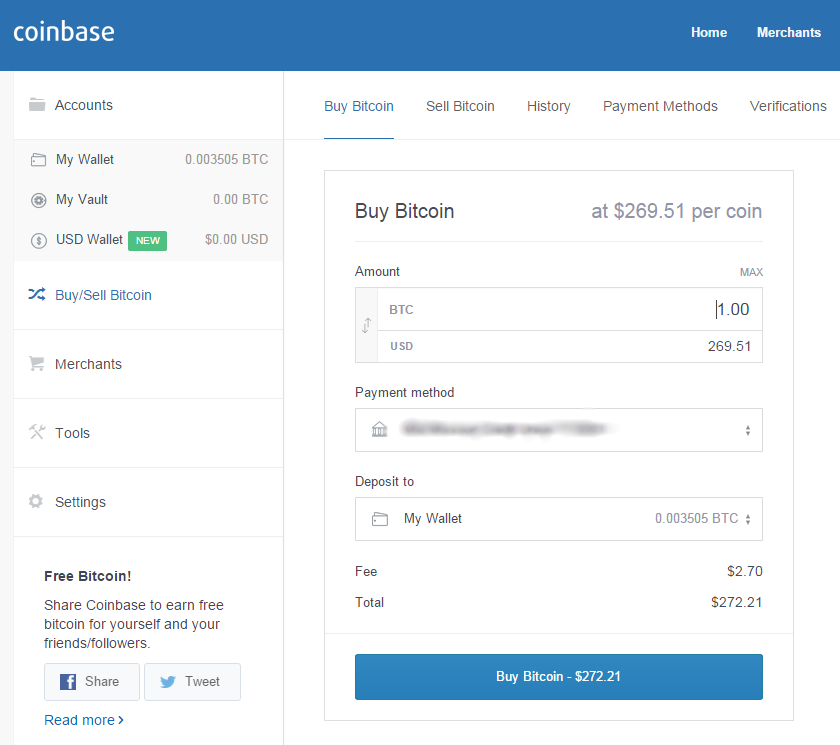
Once the purchase is submitted, the transaction will be pending for at least two more days. This is because bank transfers take time and because the bitcoin network needs to validate the transaction and add it to the blockchain – a shared database used by everyone on the bitcoin protocol that records every transaction ever made using bitcoin.

You won’t be able to spend, send, or sell these bitcoins until the transaction is verified by the blockchain. Depending on the exchange, this varies by the number of times the transaction is verified by peers on the network – it needs to be double, triple, and even sextuple checked to ensure everything is in order.
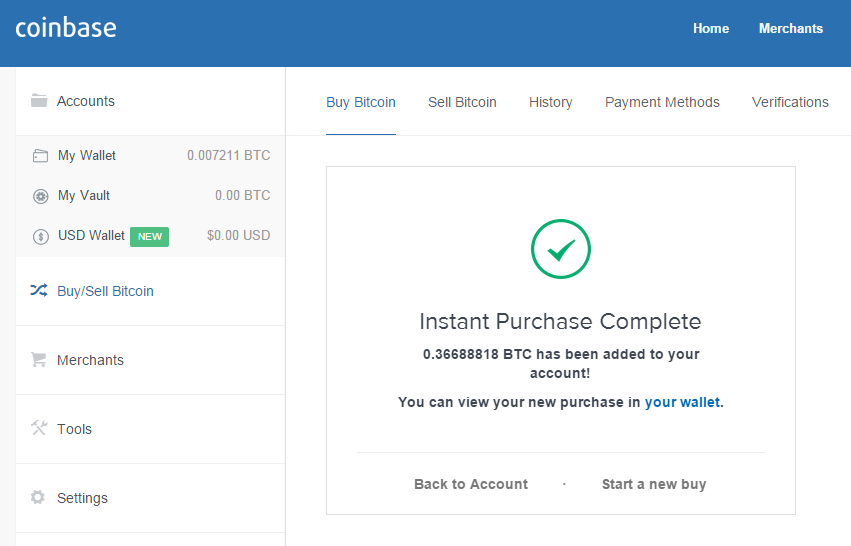
Sending and receiving bitcoins
Now that you’ve got some bitcoin in your wallet, sending and receiving it is easy. In my example, I’m going to send a very small amount of bitcoin from the third-party wallet installed on my PC, MultiBit, to my Coinbase wallet.
First, you’ll need your wallet’s address. Just look around the menus and you’re sure to find it. You can either copy and paste the address – usually a long string of random characters – manually, or use the QR code scanner built into your phone’s wallet app. NFC is also an option for physical payments.
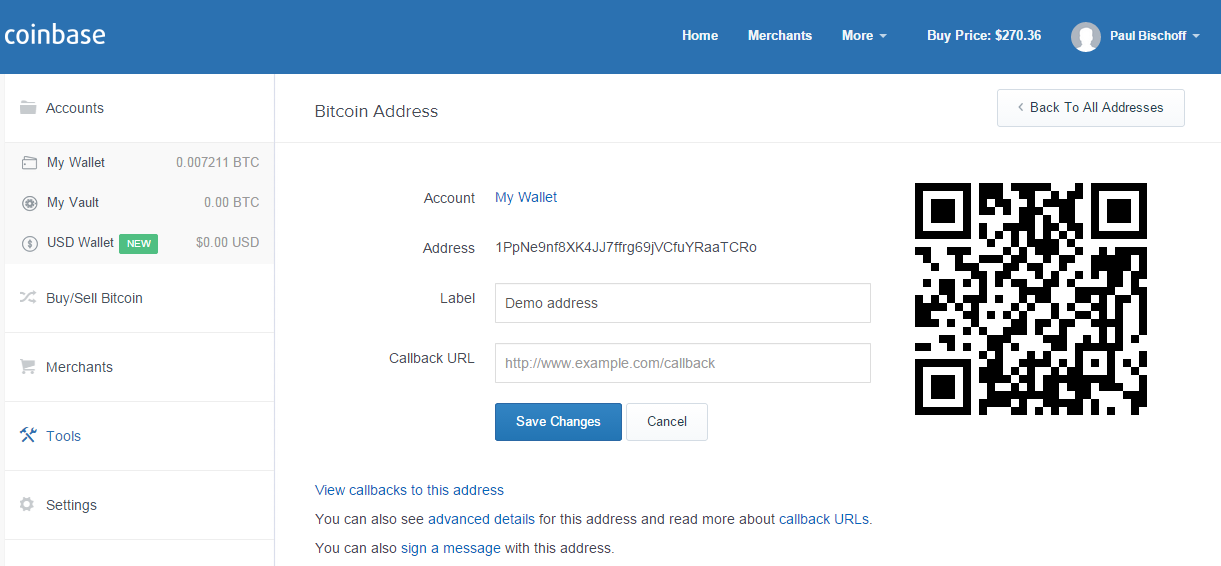
Next, type in a label indicating what the transaction is for and the amount you want to send. Double check to make sure you have enough to cover any transfer fees, which is usually a very small amount. Then hit send.
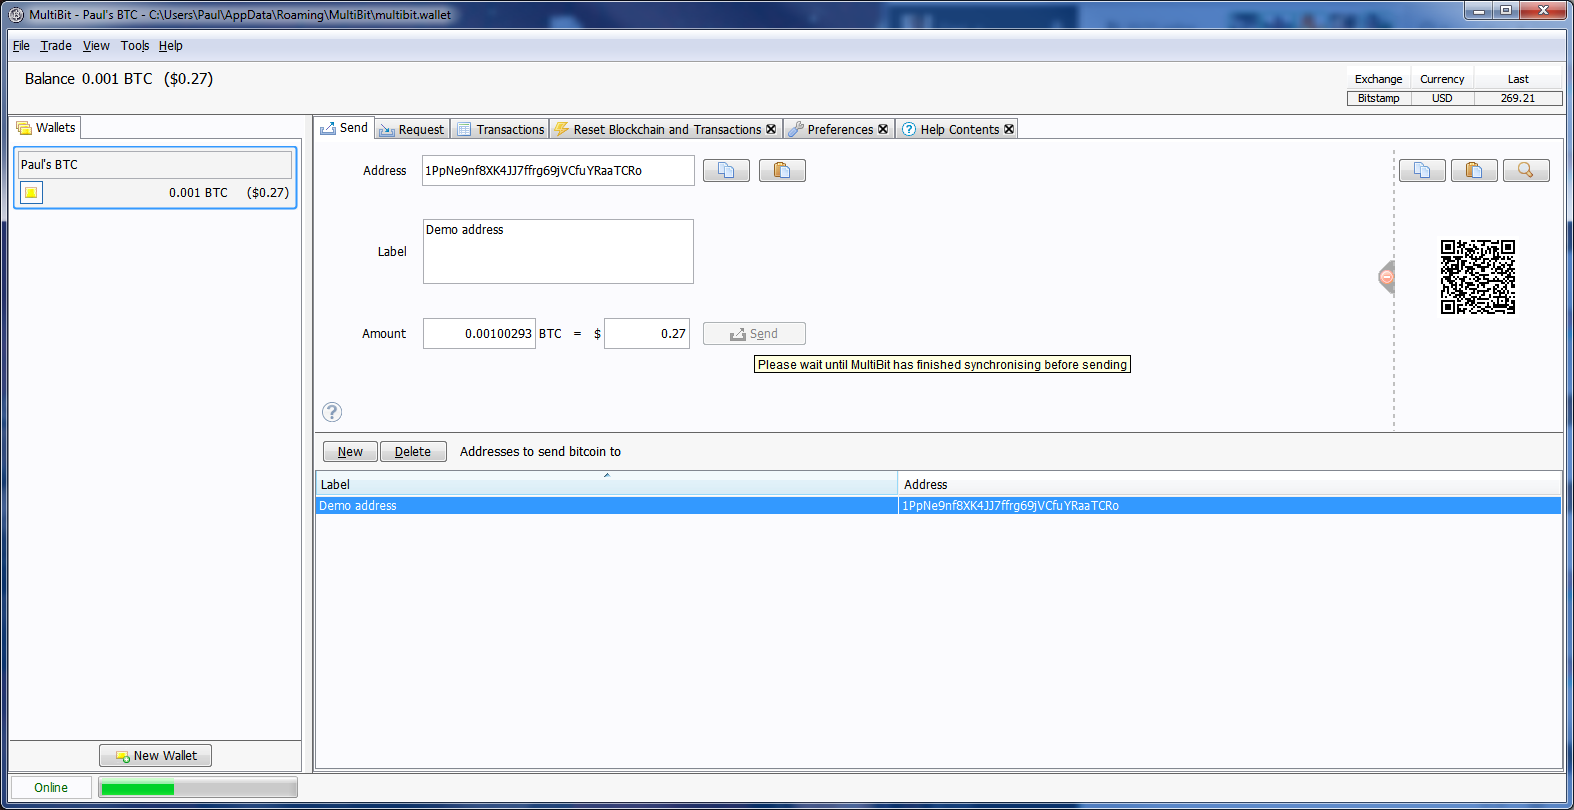
Voila! You’ve now sent (or received) some bitcoin. Just like buying from the exchange, it will take some time for the transaction to take effect in the blockchain.
If you want someone to send you bitcoin, you can use your wallet’s request function, or just give the sender your wallet address. Even though the address looks like a complicated password, it doesn’t have to be secret. Many organizations display it publicly to collect donations or other forms of payment.