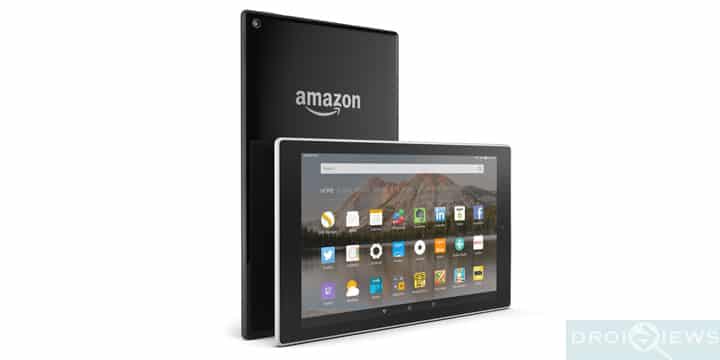
Fire 10 HD is a successor to the Fire HD from Amazon and comes with upgraded features. Besides serving as an eBook reader, it has all the features found in an Android device. Moreover, it comes with Android Lollipop firmware. As the tablet runs on Android OS, it can be manipulated and modified with custom ROMS and kernels. TWRP and bootloader unlock procedures are available for the Amazon Fire 10 HD 5th Generation and hence Android users can theme and mod their device or even flash a custom ROM on it. However, in the process, the device may get bricked and needs to be restored to stock firmware. A new software update is available for the Fire HD 10 (5th Generation). This update automatically downloads and installs on your device over the air; however, you can also manually download the software and transfer the update to your device via USB cable.
For those who have changed their system and want to revert back to stock firmware, here is a short tutorial that will take our device to latest available stock ROM on the Fire 8 HD from Amazon. Once you setup adb environment on your PC you are all set to flash the latest firmware for your device. Download the latest available update from the download section and issue the commands in cmd or terminal as instructed below.
This will also lock your bootloader and flash the stock recovery on your device. The guide involves the usual process of flashing the system image file issuing commands through command prompt or terminal. If you are new to this process, then here is a detailed tutorial.
So let’s begin.
Contents [hide]
Download
- Fire HD 10 Stock Firmware | File: update-kindle-32.5.2.2_user_522054520.bin
How to Restore Amazon Fire HD 8 to Stock Firmware
This is another method to install stock firmware updates. To make this method work, you need to setup adb environment on your PC. You need to sideload the update manually to your system.
Prerequisites
- This tutorial is compatible with Amazon Fire 10 HD 5th Generation only. Do not try it on any other device.
- Set up ADB and Fastboot on your computer. You can install the full Android SDK package from Google or get the quick adb and fastboot installer for Mac or Linux OS.
- Install the latest USB Drivers on your computer. This is important to detect the phone.
- Open Settings> Developer options and enable USB Debugging on your device. To enable developer options, tap the Build Number multiple times (approx. 7 times) in About Phone.
- Allow OEM unlock from developer options, if available.
Installation Instructions
The hidden mode of Android 5.1 Lollipop called recovery should allow you to perform hard reset, wipe cache partition or Android 5.1 Lollipop update. So follow the steps of recovery mode tutorial:
- Switch off the tablet by using the Power key.
- After that press and push Power key + Volume Up for a couple of seconds.
- If you see AMAZON logo let go of all buttons.
- Wait for a few seconds and you will be in Recovery Mode.
- Success! In this mode you can navigate by using Volume keys and confirm with the Power button.
- Make sure you have setup ADB and Fastboot environment on your PC. Download the firmware package and place the file in the same directory where the adb is installed.
- Power off your device and keep it unplugged from your PC.
- Boot into stock recovery. To do so, press and hold volume down and the power button for 5-6 seconds. For an alternative method look at the bottom of these instructions.
- Now on the next screen, select the stock recovery option which will boot you into the recovery.
- Once into the stock recovery, select the option apply update from adb.
- Now plug in your device to the PC using a USB cable.
- Navigate to the location where your adb and fastboot is installed on your PC. While the folder with adb and fastboot files is open, right-click on an empty space and select “Open command window here” option to launch a command prompt window.
- Now check your adb connection by issuing the following command. It should return device information. Otherwise, you need to make sure your drivers are installed correctly.
adb devices - Issue the following command to install the firmware
adb sideload update-kindle-32.5.2.2_user_522054520.bin - This will flash the stock firmware update to your system. The last keyword is the name of the file. Make sure you either rename the file to a simpler one or type the name of the file as it is with the proper extension.
- Once the installation completes, reboot to system.
For Mac or Linux users, setup adb and issue the “./adb sideload update-kindle-xxxx.bin” command without quotes. Now that you have installed the stock firmware update, you can now enjoy the latest update on your device.
How to boot into stock recovery using adb and fastboot?
Alternatively, you can issue an adb code to boot into recovery while your device is connected to the PC. Issue the following code.
adb reboot recovery